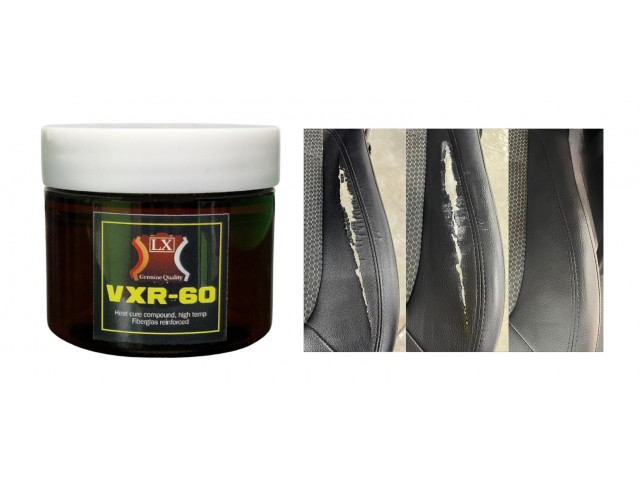
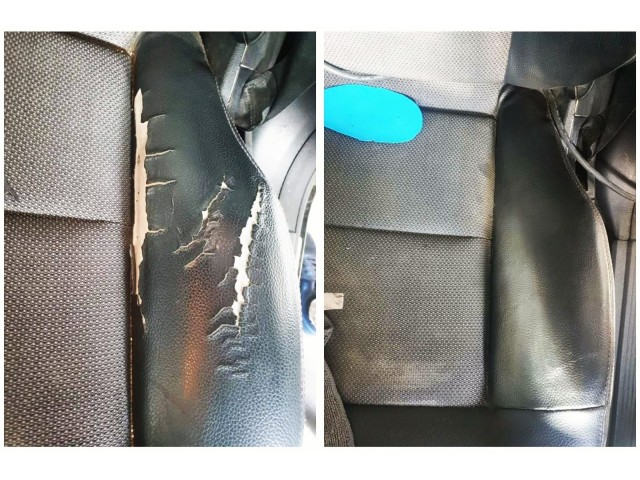
A repair kit for those who have got tears or holes in your Vinyl or Leather, which gives you a permanent repair that lasts.
The filler is hardened using a heat gun, butane gas burner or heating iron.
The kit contains a 2-k pattern compound that gives you an exact mirror image of the surface you want to recreate.
FX-9: Low-temp Black filler, curing temperature is 125 > 145 celsius.
FX-10: Low tempered Clear filler, curing temperature is 145 > 165 celsius.
DuraFlex: High tempered Clear filler, glass fiber reinforced, curing temperature is 195 > 225 celsius.
(Scroll down for illustration videos)
The kit contains
- Prep (30ml)
- Vinyl & Leather Filler
- Lint-free canvas
- Palette knife
- Reinforcement cloth (Canvas cloth for leather and linen cloth for Vinyl)
- Pattern pad kit "Grain Putty"
Info on heat sources that can be used (not included in the kit)
Butane gas burner without flame: For injuries up to 2.5cm in diameter
Butane gas burner with flame: For injuries up to 2.5cm in diameter
Heat gun with small nozzle: For injuries up to 3.5cm in diameter
Heat gun without nozzle: For damage from 3.5cm > unlimited
This is how you make a cast of the pattern
Start by making a cast, a so-called "pattern pad", of the vinyl/artificial leather pattern with the attached blue casting compound:
1. Mix white and blue pulp together until the pulp becomes uniform in color.
You have 45-55 seconds to mix the mass before it starts to harden.
2. Form the mass into a ball.
3. Press the mass down on the pattern you want to recreate and continue with "light" pressure. Use a lid or other suitable object as an aid when pressing.
4. Wait for 3-5 minutes, then the pattern pad is hardened and ready.
How to repair vinyl
1. Trim off protruding and sharp edges with scissors or a scalpel.
2. Wash the damaged area 2 times with the attached Vinyl Prep.
3a. In case of holes in the underlying textile, or where it is missing (if the textile underneath the damage is intact, go directly to step 5):
Cut out a piece of the reinforcing fabric, about 1-1.5cm larger than the size of the damage. Remember to cut out with rounded corners.
3b. Fit the backing cloth under the vinyl, making sure it is centered in the damage (put an x in the center of the backing cloth with a marker pen to make this easier).
Then apply Filer between the reinforcement cloth and the underside of the Leather or Vinyl.
4. Now the filler must "weld" the reinforcing fabric with heat:
If you use a heat gun: Heat with a distance of about 10 cm until you see a "change" in the filler (it gets a little darker), then go down about 4-5 cm until you see smoke, then quickly press down on your pattern pad with light press for 7-10 seconds.
If you are using a butane gas burner without a flame: Heat from a distance of about 4 cm until you see a "change" in the Filler, then go down about 2 cm until you see smoke develop, then quickly press down on your pattern pad with light pressure for 7-10 seconds .
If you are using a butane gas burner with a flame: Heat from a distance of about 6 cm until you see a "change" in the Filler, then go down about 4 cm until you see smoke develop, then quickly press down on your pattern pad with light pressure for 7-10 seconds .
Heating iron/heating paper is NOT recommended, as it will not get hot enough.
5. Now apply the Filler in a thin and even layer over the entire damage and repeat step 4.
6. Repeat steps 4 and 5 until you are satisfied with the result.
Regarding the procedure: It is possible to heat, scrape, add, create patterns without restrictions.


There are no reviews for this product.