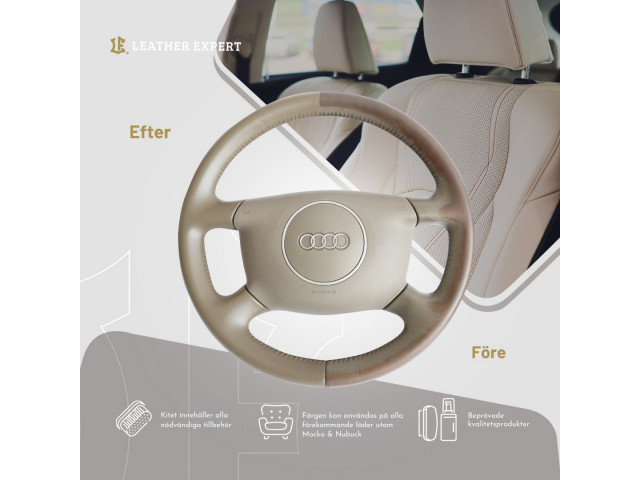
Over time, a leather steering wheel often loses its original color and finish. This is due to constant use, dirt penetration and sun damage. Constant contact with the hands inevitably leads to dirt and grease (skin lotion, hand cream, etc.) being transferred to the steering wheel. Exposure to sunlight for long periods will of course also cause the color to fade over time.
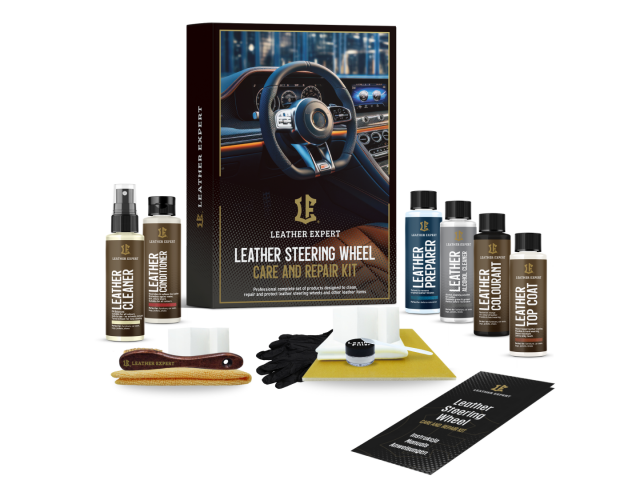
The kit contains everything you need to make a stylish and durable restoration of your leather steering wheel.
The products are user-friendly and give you a perfect result.
Contains
30ml Cleaner LVP (Leather, Vinyl, Plastic)
30ml Silicone Remover
30ml Leather Prep
30ml Grip Base
30ml BLACK Steering wheel paint
30ml Top Coat
10% Safe-Link (Hardener for Top Coat)
30ml Protective cream
Applicator Sponge (Semi-Soft)
Lint Free Cloth
Terry Towel
Sandpaper (280/1200)
Step-by-Step instructions
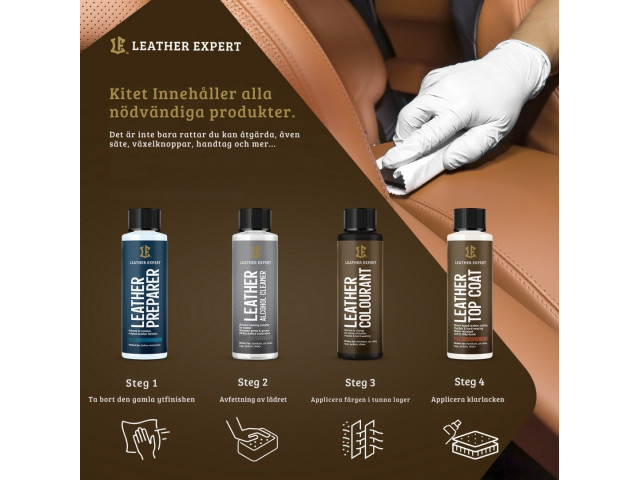
Instructions
1. Clean the surface thoroughly 2 times with cleaner.
2a. Clean the surface thoroughly 2 times with Silicone Wash and a terry towel.
2b. Sand the surface with Slip-Pad 500.
2c. Thoroughly clean the surface 2 more times with Silicone Wash and a terry towel.
3a. Clean the surface thoroughly 2 times with Ultra Prep and a terry towel.
3b. Sand the surface with Sandpaper (280).
3c. Clean the surface thoroughly 2 times with Ultra Prep and a terry towel., then you are done with the preparations for dyeing.
4. Massage in a thin layer of Grip Primer and let dry.
5a. The first and second color layers are massaged in with a semi-soft sponge in thin layers. Then you can easily get into hard-to-reach nooks and crannies and make sure there is paint everywhere.
5b. Apply the number of layers of paint required to achieve the desired result. The color should be "dabbed" on in thin layers when applying. Airbrush Kit & Preval Sprayer gives you thin fine layers of paint. Sand the surface "lightly" before applying the final coat of paint.
6. Apply 3-4 coats of Top Coat mixed with 10% Ultra-Link to further seal and reinforce the surface. The first layer of Top Coat is massaged in with a semi-soft sponge in thin layers.
7. Massage in the protective cream after 24 hours for the best protective barrier.
The drying time can be accelerated with the help of a hair dryer


-640x480.jpg)


There are no reviews for this product.